Getting Started
Quick Start Guide
Get up and running with CountedIn in under 5 minutes. By the end of this guide, you'll have your account set up, your first client added, and a session logged.
Create your account
Head to counted-in.app and click Get started. You can sign up with your email or use Google sign-in for one-click access.
counted-in.app
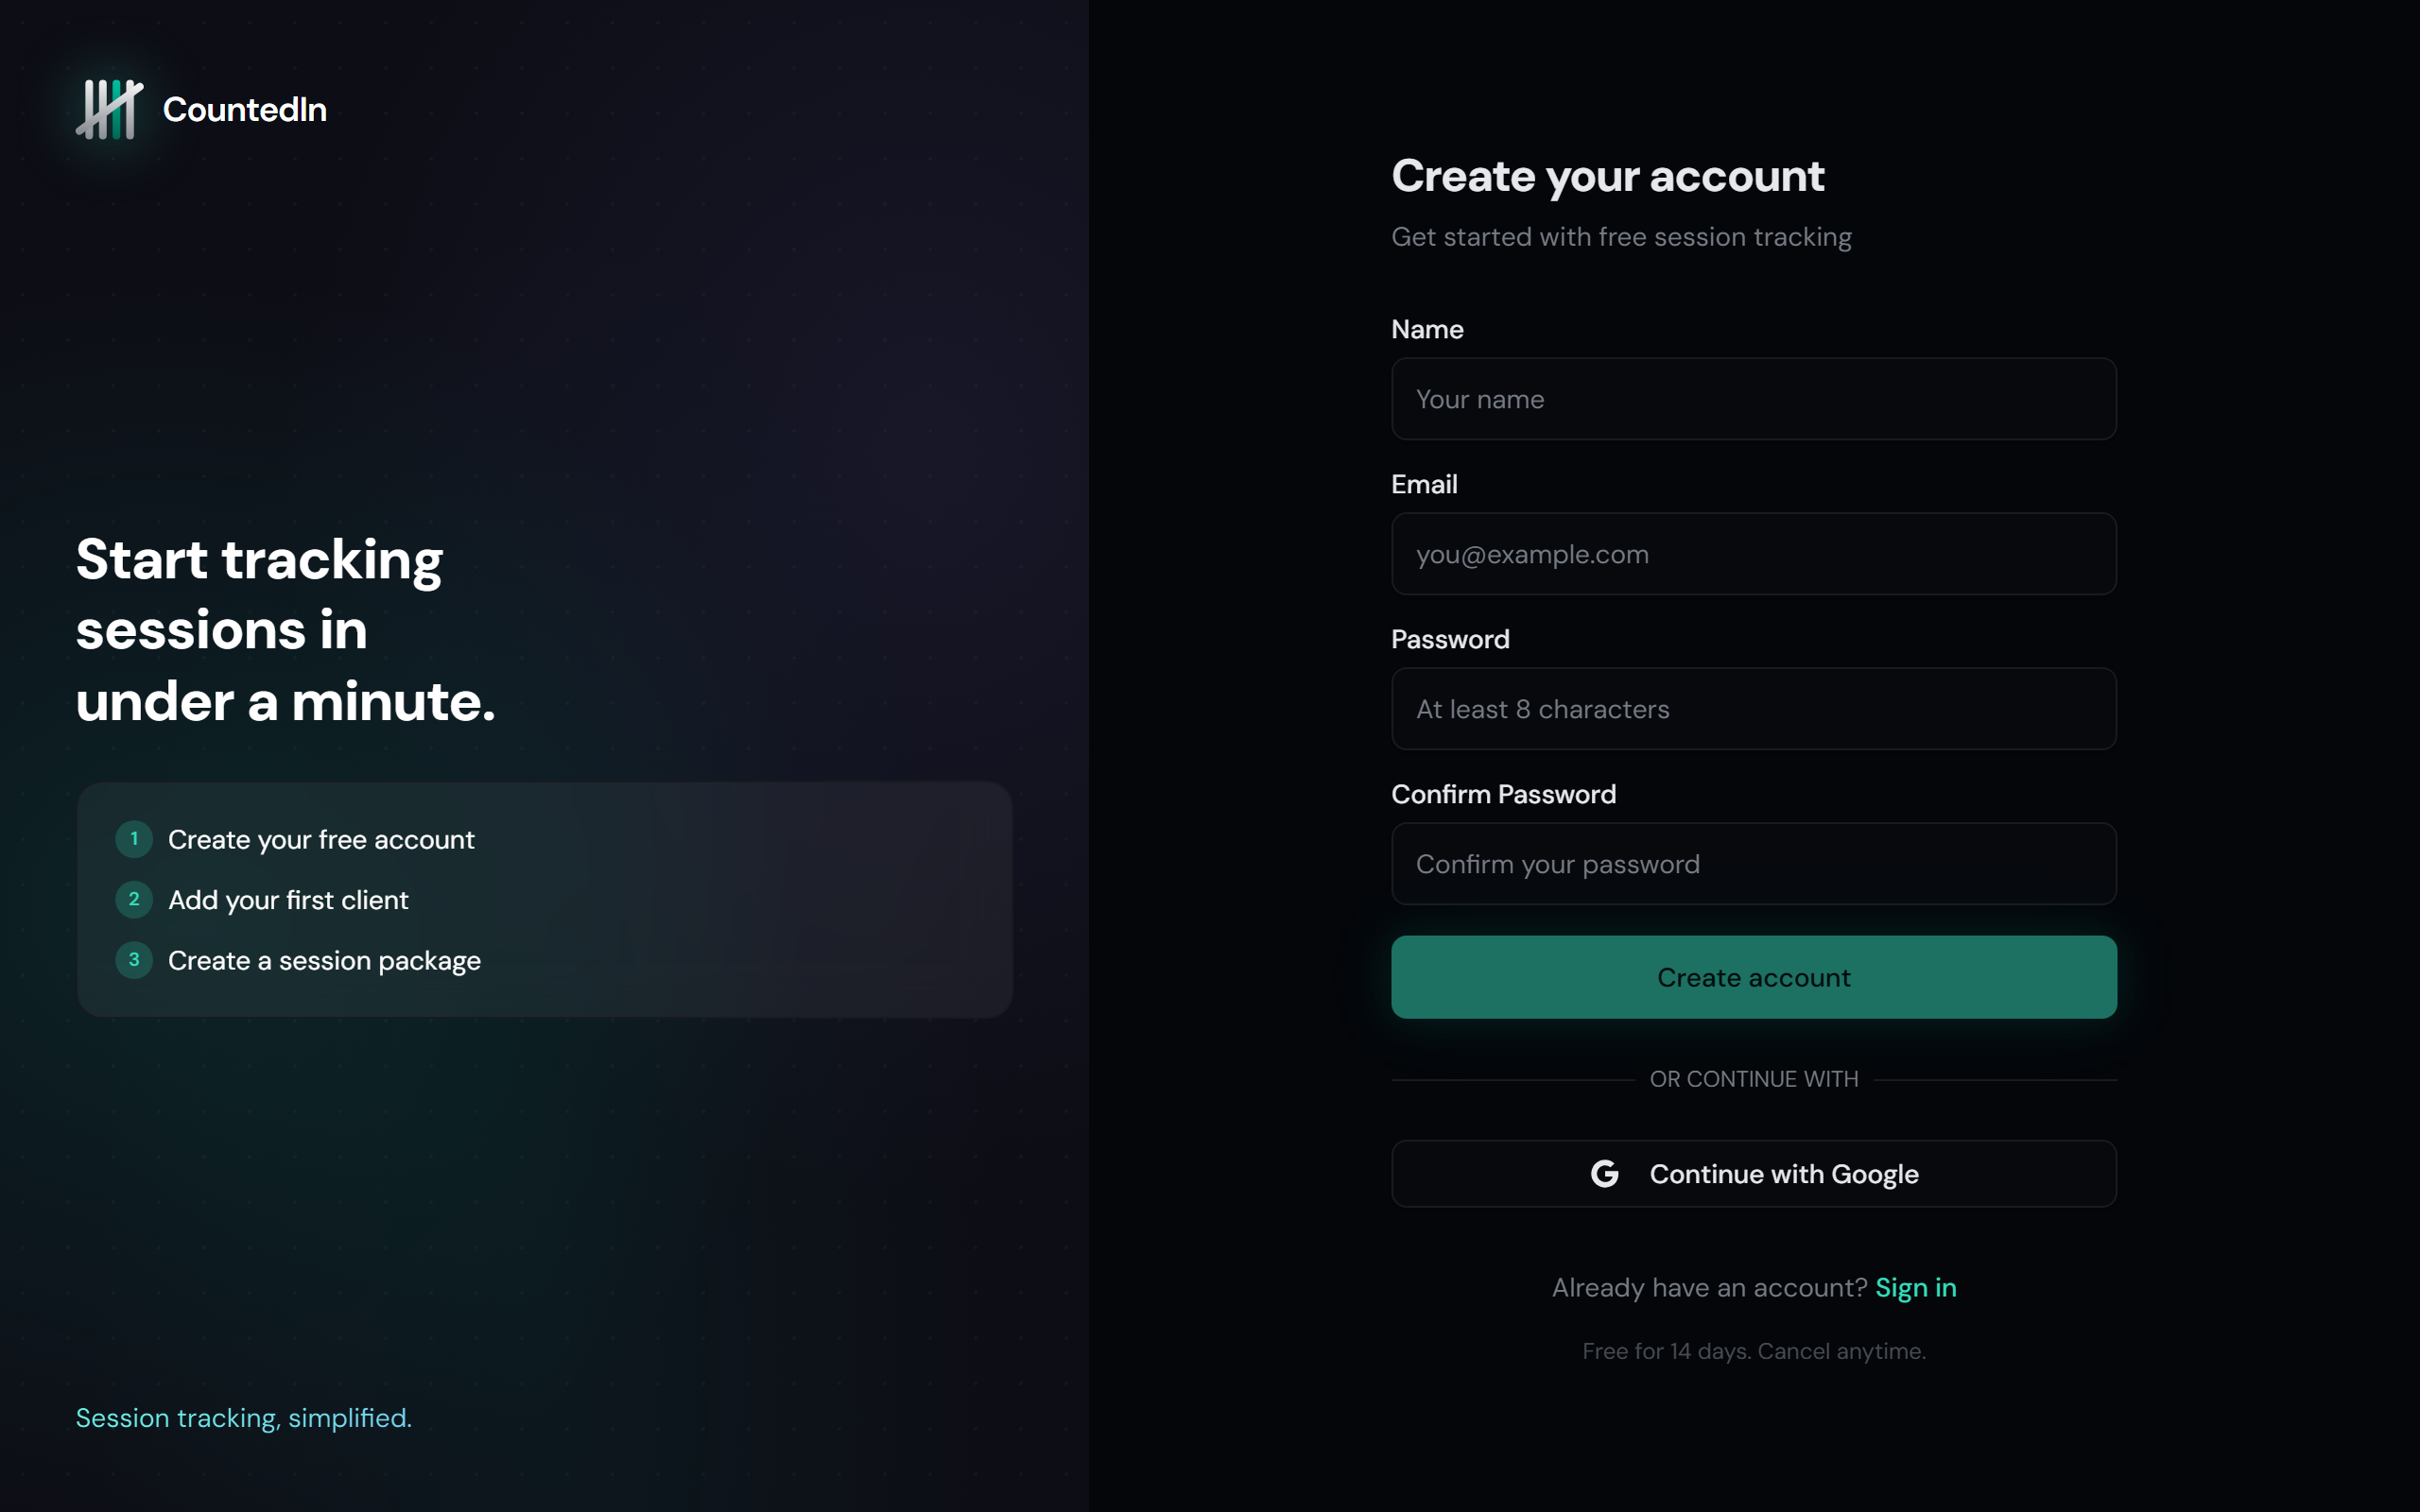
Enter your details
Fill in your name, email, and choose a password. Or click Continue with Google to skip the form entirely.
Verify your email
Check your inbox for a verification link. Click it to activate your account.
If you used Google sign-in, this step is automatic.
Land on your dashboard
After verification, you'll be taken straight to your dashboard. CountedIn
will walk you through a quick product tour highlighting the key features.
Tip
You get a 14-day free trial with full access to every feature. No credit card required.
Add your first client
Navigate to the Clients page using the sidebar. Click the Add Client button at the top.
counted-in.app
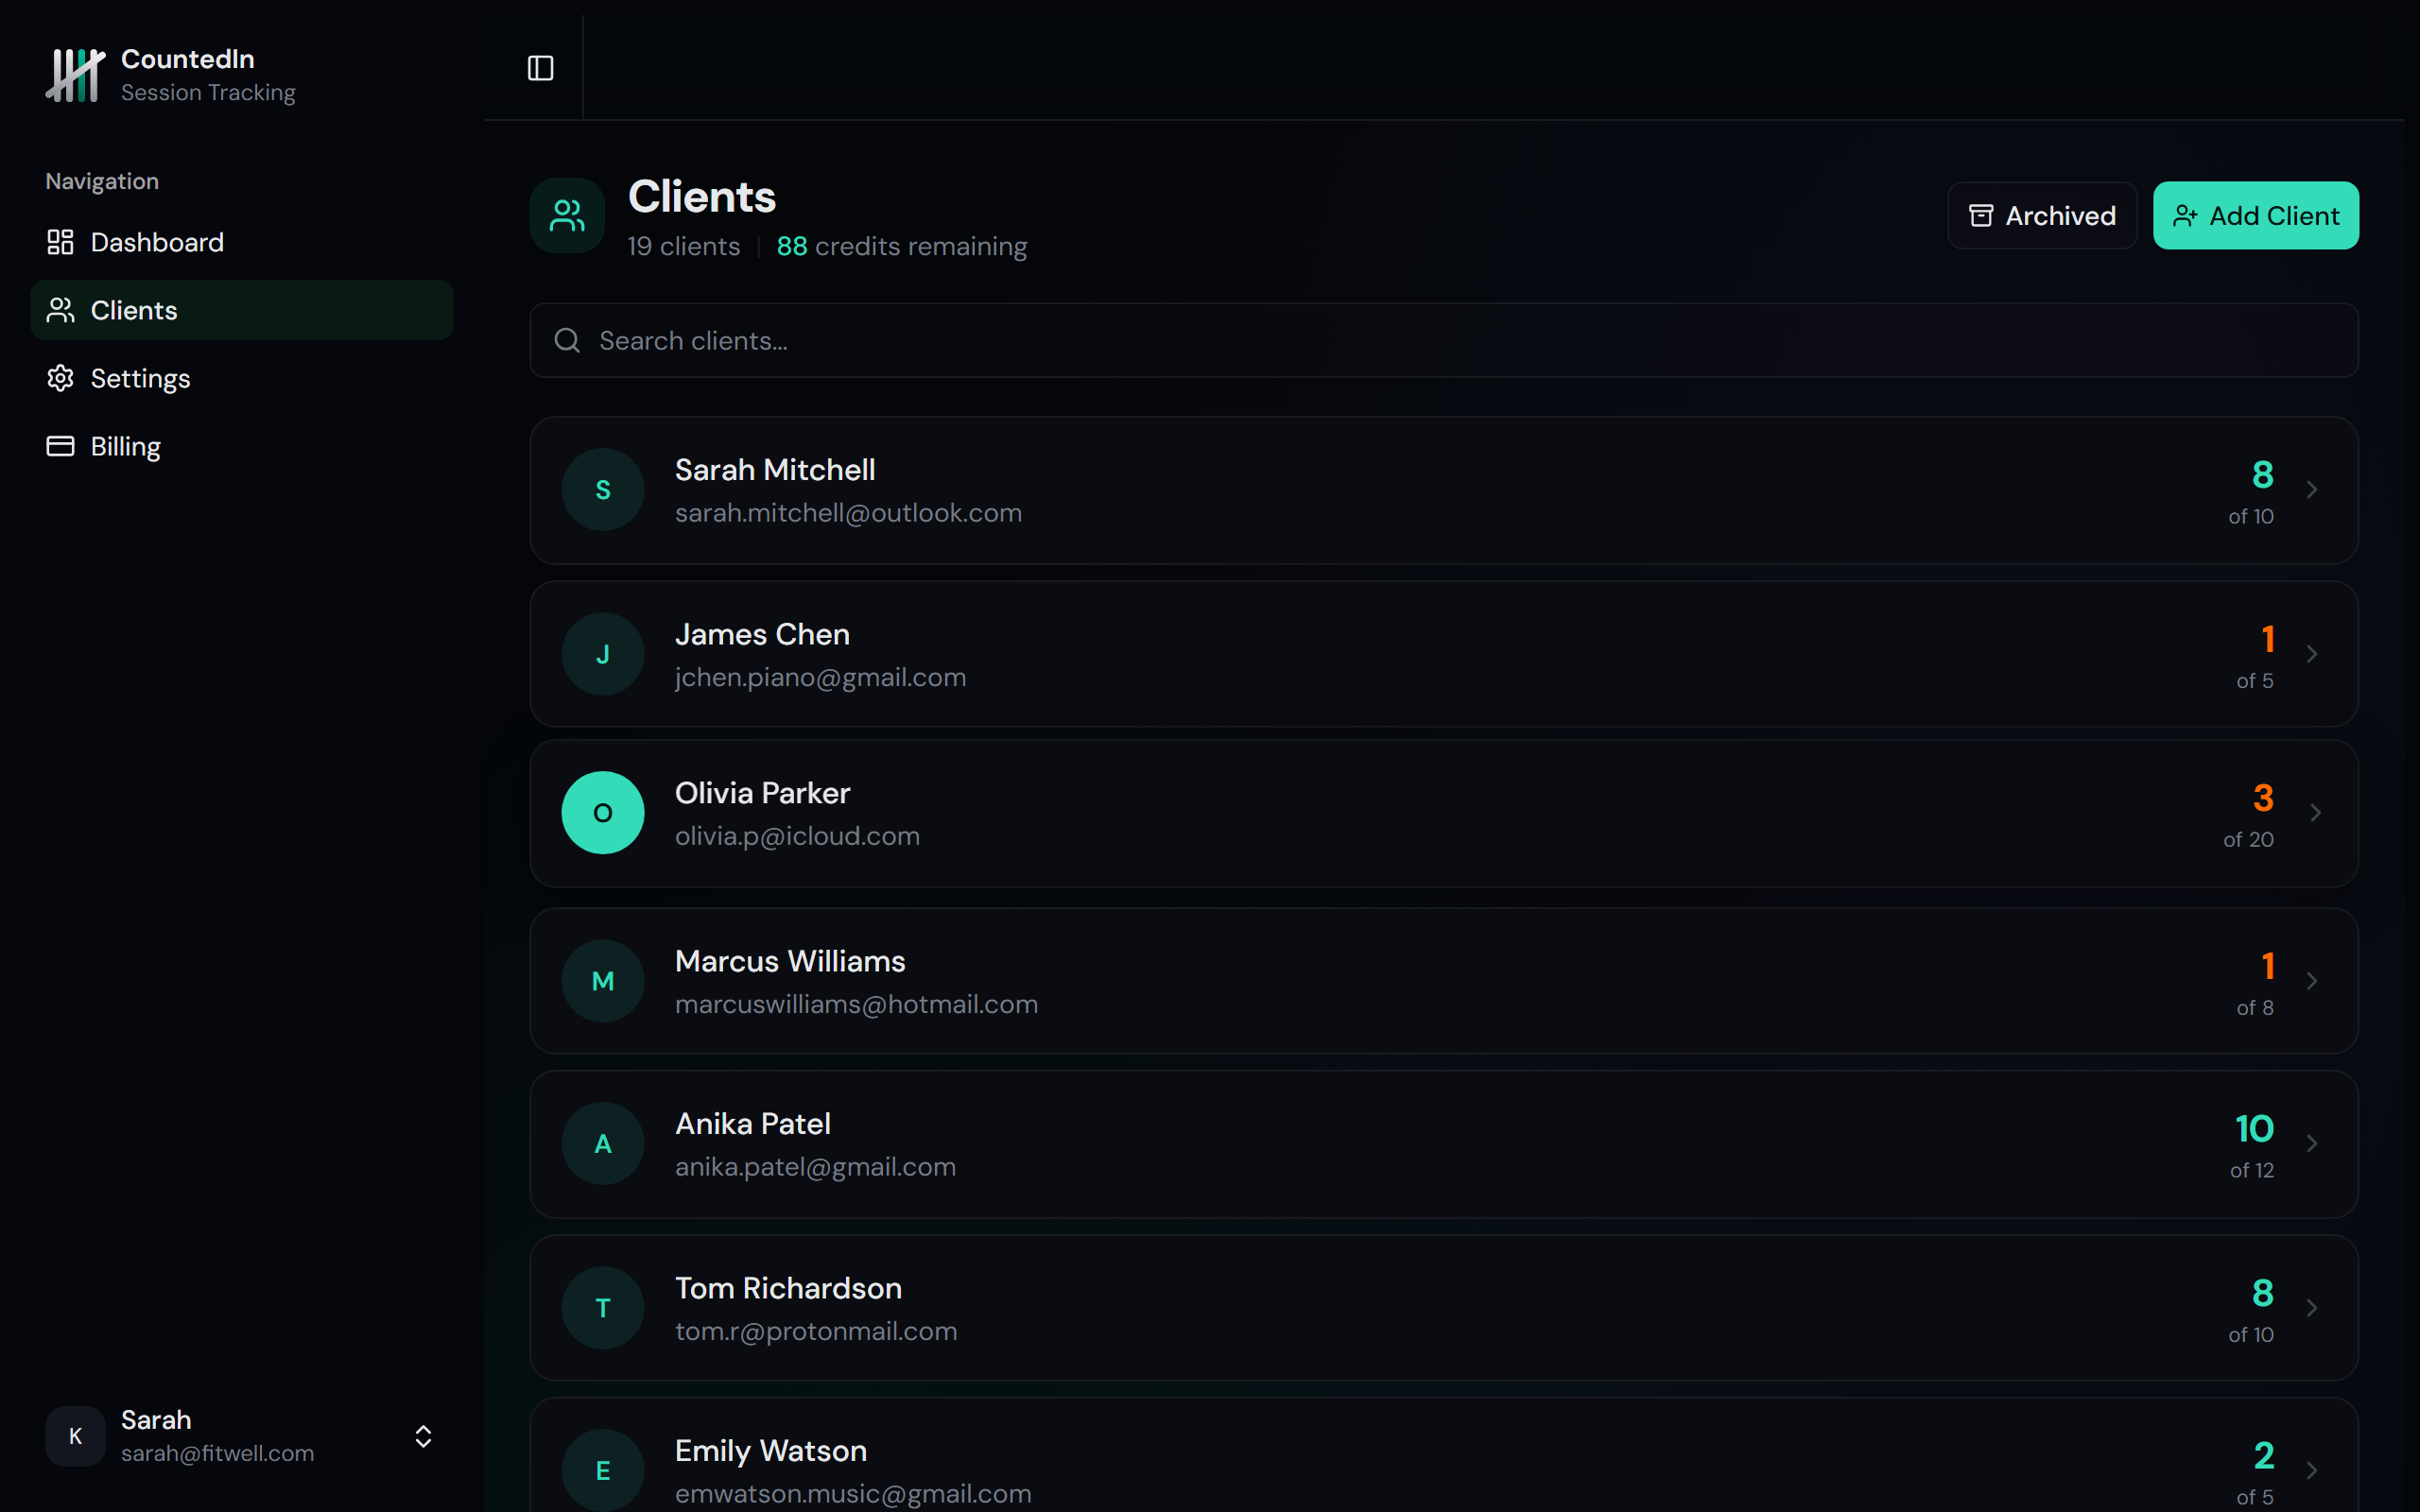
Click Add Client
The add client form appears right at the top of the page. No separate page, no modal.
Enter client info
Fill in their name (required), plus optional email, phone, and billing type.
Choose a billing type
Select Package (prepaid credits), Per Session (pay as you go), Monthly (flat fee), or None (pro bono). Default is Package.
Save
Click Add and your client appears in the list instantly.
Create a session package
If your client uses prepaid packages, click into their profile and scroll down to the Packages section. Click New Package.
counted-in.app

Name your package
Give it a descriptive name like "10-Session Pack" or "Monthly Training".
Set the session count
Enter the total number of sessions included. This is the credit count that will count down
as you log sessions.
Add price and expiry (optional)
Set the package price for your records, and an optional expiration date. You'll get alerts
before a package expires.
Note
Packages are only for Package billing type clients. Per-session, monthly, and
no-billing clients don't need packages. Just log sessions directly.
Log your first session
From the client's profile page, click the Log Session button. This works for all billing types.
counted-in.app

Select the package (if applicable)
Package clients: choose which package to deduct from. Non-package clients: this step
is skipped automatically.
Confirm the session
Click Log Session. The credit count updates instantly for package clients.
For all clients, the session appears in their history.
Made a mistake?
No worries. Every session has an Undo button in the session history.
Credits are restored immediately for package sessions.
That's it!
You're now tracking sessions. As you log more sessions, your dashboard fills up with stats,
revenue, and trends. Explore the rest of these docs to learn about alerts, payments,
client portals, and more.